Gemini 2.5 Flash Image Editing(Nano Banana): The Ultimate Prompt Guide
Gemini 2.5 Flash Image Editing: The Ultimate Prompt Guide
Google's Gemini 2.5 Flash (nicknamed "Nano Banana" by the community) is revolutionizing image editing workflows. Unlike traditional tools, it excels at iterative refinement and character consistency across multiple scenes—perfect for storyboarding, product visualization, and creative composition.
What Makes It Special?
The standout features include:
- Multi-turn editing: Refine images progressively without starting over
- Character consistency: Keep the same person/character across different scenes
- Text rendering: Generate posters and graphics with accurate typography
- Scene fusion: Seamlessly blend subjects with new backgrounds while matching lighting
However, it's not perfect for precision tasks like exact cropping or complex masking. The key is working with its strengths.
1. Storyboarding & Character Consistency
Perfect for creating character sheets or comic panels where the same person appears in different scenarios.
Example Prompts:
Character Figure Creation
Turn the uploaded portrait into a collectible character figure.
Place a branded box behind it showing the character image,
a computer screen displaying a Blender modeling viewport,
and a round plastic base underneath.
PVC look, indoor studio lighting, realistic film tone, preserve facial identity.
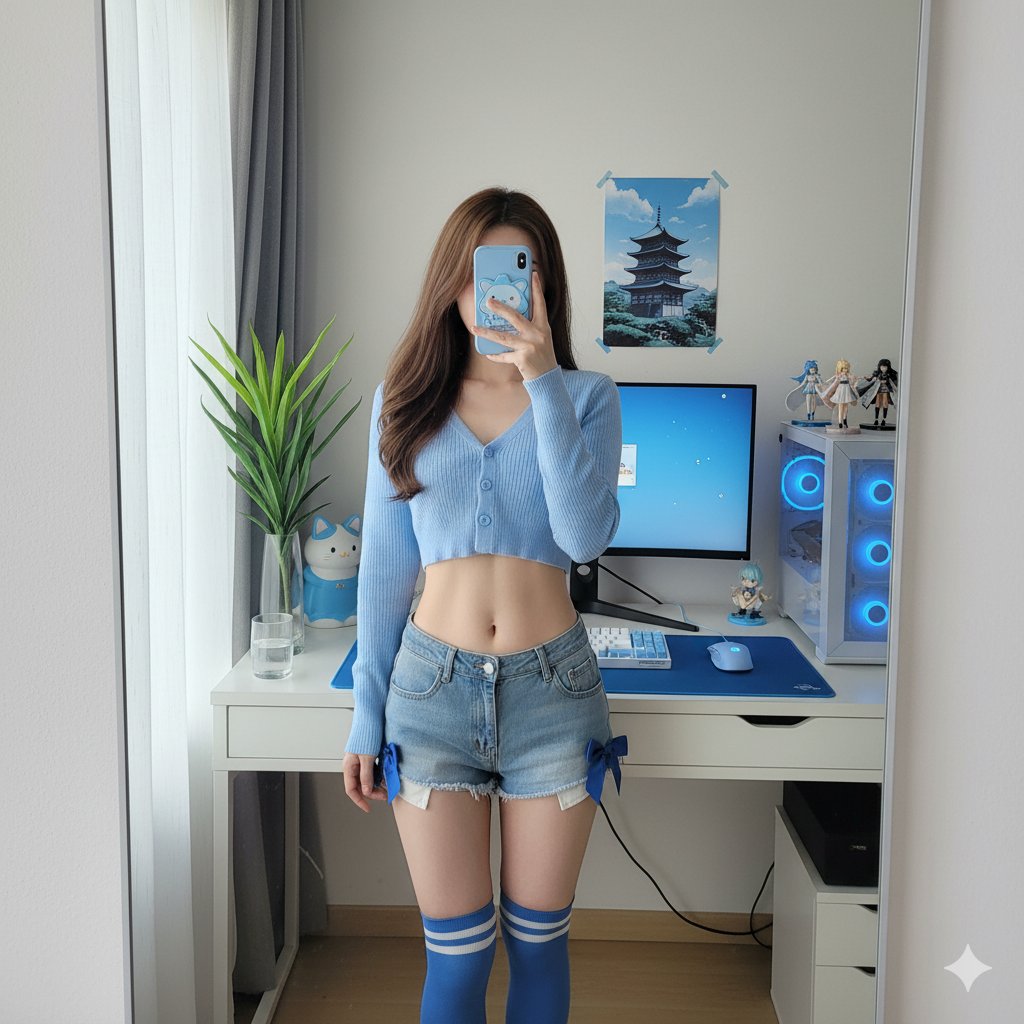
Scene Variations
Keep the same character.
Scene: subway platform with cool blue ambience and rim lighting from behind.
Camera at chest height, medium shot, maintain identity and hairstyle.
Multi-frame Storyboard
Create a 6-frame storyboard: hero intro, establishing shot,
close-up on hands, over-the-shoulder UI shot, product reveal, end card.
Maintain character identity and consistent wardrobe throughout.
2. E-commerce & Product Photography
Merge products into lifestyle scenes with proper lighting and reflections.
Example Prompts:
Kitchen Lifestyle Shot
Merge the product with a modern kitchen scene.
Place it on a marble countertop with realistic reflections and shadows.
Color temperature around 5000K, subtle vignette effect.
Studio Packshot
Cosmetics bottle on acrylic pedestal, seamless paper backdrop.
Softbox lighting from camera right, subtle gradient background,
controlled specular highlights.
Floating Product Display
Smartphone in exploded view: separate screen, mid-frame, and camera module layers.
Dark studio environment, managed glossy reflections, technical aesthetic.
3. Portrait & Fashion Styling
Modify hairstyles, outfits, and makeup while maintaining facial identity.
Example Prompts:
Hairstyle Change
Keep face identity unchanged.
Change hairstyle to retro bob with thin eyeliner.
Soft skin retouch preserving natural pores and texture,
realistic hair strand details including flyaways.
Outfit Swap
Outfit change to streetwear: oversized hoodie with cargo pants.
Neutral studio background, soft Rembrandt lighting pattern,
maintain facial features and proportions.
4. Lighting & Photography Language
Communicate like a professional photographer for better results.
Example Prompts:
Film Noir Style
Film noir aesthetic: hard key light from high angle,
deep shadows, practical lamp in background,
volumetric smoke for atmosphere.
Golden Hour Portrait
Golden hour backlight creating rim light on hair.
Natural lens flare streaks, warm highlights around 5600K color temperature.
Shallow depth of field with bokeh background.
Product Hero Shot
Product hero lighting: flagged highlights on one side,
gradient card for polished metal surfaces,
tight reflection control on base surface.
5. Materials & Textures
Specify surface qualities for photorealistic results.
Example Prompts:
- PVC Plastic: "Slightly translucent edges, smooth specular roll-off, no micro-scratches"
- Brushed Aluminum: "Fine linear brushing pattern, soft anisotropic highlights"
- Frosted Glass: "Internal light scatter, visible meniscus line on liquid, soft diffusion"
6. Typography & Graphics
The system is optimized for text-heavy designs like posters and thumbnails.
Example Prompts:
Event Poster
Minimalist event flyer design.
Date in large numbers "09·10", venue in small caps below.
Clean sans serif font, centered layout, crisp text rendering with proper optical margins.
YouTube Thumbnail
YouTube thumbnail style: close-up face with strong expression,
punchy 3-5 word title overlay, high contrast design,
rule of thirds composition.
7. Scene Replacement & Compositing
Blend subjects into new environments with matching lighting.
Example Prompts:
Background Replacement
Replace background with snowy mountain scene.
Match key light direction from camera right.
Add subtle footprints in snow for realism, maintain edge quality.
Indoor Scene Fusion
Place subject into museum gallery with polished floor reflections.
Soft track lighting from ceiling,
ensure lighting angle matches subject's shadows.
8. Camera Language & Composition
Use photography terms for precise control.
Example Prompts:
- Portrait: "85mm equivalent focal length, shallow depth of field, background separation"
- Flat Lay: "Top-down view, grid-aligned objects, even spacing, 50mm perspective"
- Hero Angle: "Low-angle shot with leading lines converging toward subject"
9. Atmospheric Effects
Add mood and depth without overwhelming the scene.
Example Prompts:
Volumetric Lighting
Light fog with god rays streaming through window.
Visible particles only in backlit areas.
Maintain subject clarity.
Rain Scene
Rain streaks and surface ripples on puddles.
Intact reflections showing environment.
Wet asphalt with neon light reflections.
10. Multi-turn Workflow Scripts
The real power lies in iterative refinement. Here's a 3-step example:
Character Scene Development
Round 1:
Place the person in a sunlit café terrace.
Warm golden hour lighting, shallow depth of field, cinematic look.
Round 2:
Keep character identity. Add laptop showing code editor on screen.
Include coffee cup with visible steam.
Adjust white balance slightly cooler.
Round 3:
Tighten to medium shot composition.
Brighten eye catchlights. Add gentle film grain for atmosphere.
Best Practices
1. Structure Your Prompts
Write in complete sentences describing the scene, not just keyword lists. Start with the overall composition, then add lighting and material details.
2. Iterate Gradually
Change only 1-2 elements per round. This gives you more control and predictable results.
3. Maintain Consistency
When working with characters:
- Use clear reference images
- Keep descriptions of hair, skin tone, and facial features consistent
- Match lighting between scenes for realism
4. Work With Its Strengths
- Avoid requests for precise pixel-perfect cropping
- Instead, specify composition and spacing in your initial prompt
- Use the tool for creative variations, not technical precision tasks
Pro Tips from the Community
- Lighting is Key: When compositing, pay extra attention to light direction and color temperature matching
- Reference Quality Matters: Upload high-quality, well-lit reference images for better consistency
- Scene Logic: Add contextual details (shadows, reflections, footprints) for believability
- Text Rendering: For text-heavy designs, explicitly state "crisp text rendering" in your prompt
Getting Started
The best way to learn is by experimenting with the official AI Studio interface. Google provides templates and examples that demonstrate the multi-turn workflow.
Key Resources:
- Official documentation on multi-turn image editing
- AI Studio with prompt templates
- Community discussions on Reddit for real-world tips
Conclusion
Gemini 2.5 Flash changes how we approach image editing by making iterative refinement conversational. Instead of mastering complex software tools, you describe what you want like talking to a creative collaborator.
Start with simple scenarios, learn from each iteration, and gradually build more complex compositions. The system rewards clear communication and patience over rushing to the final result.
Happy creating!
Related Posts
 AI Tools
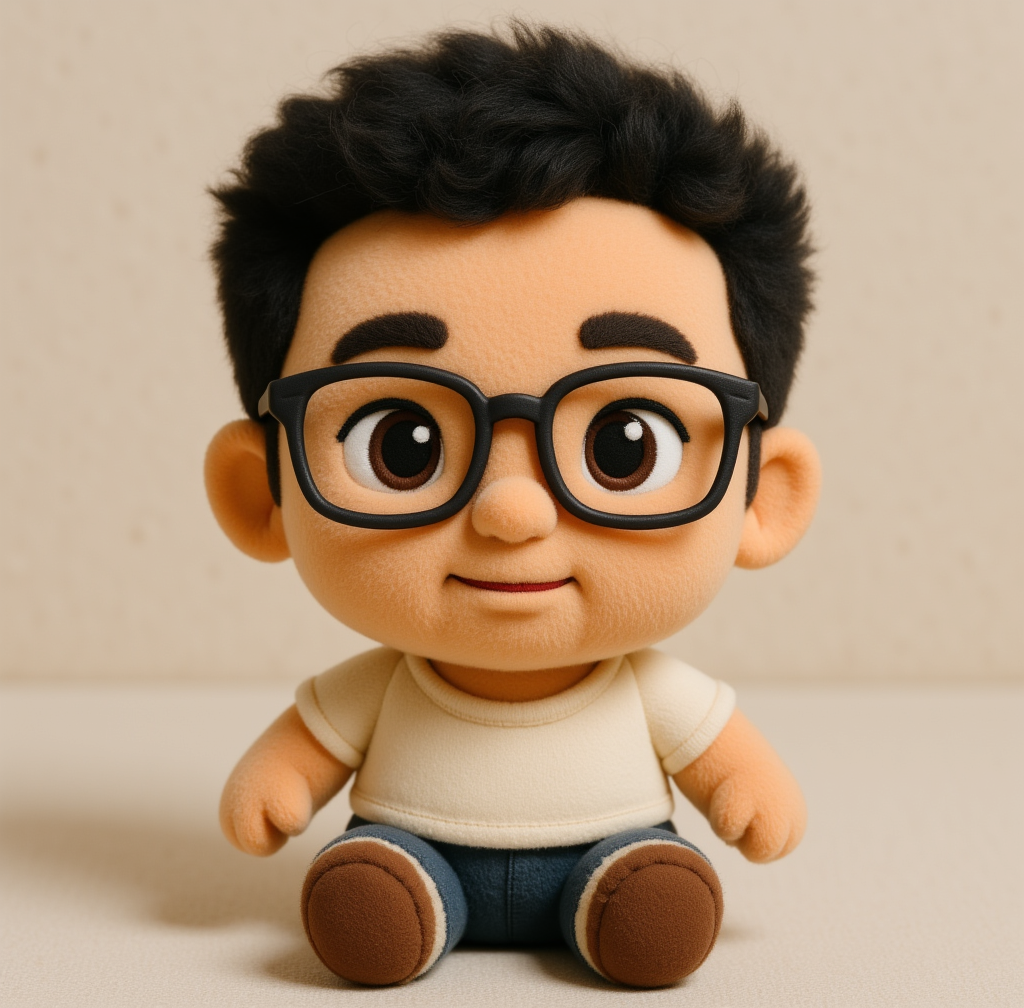 deltaqin
 AI Tools
 AI Tools